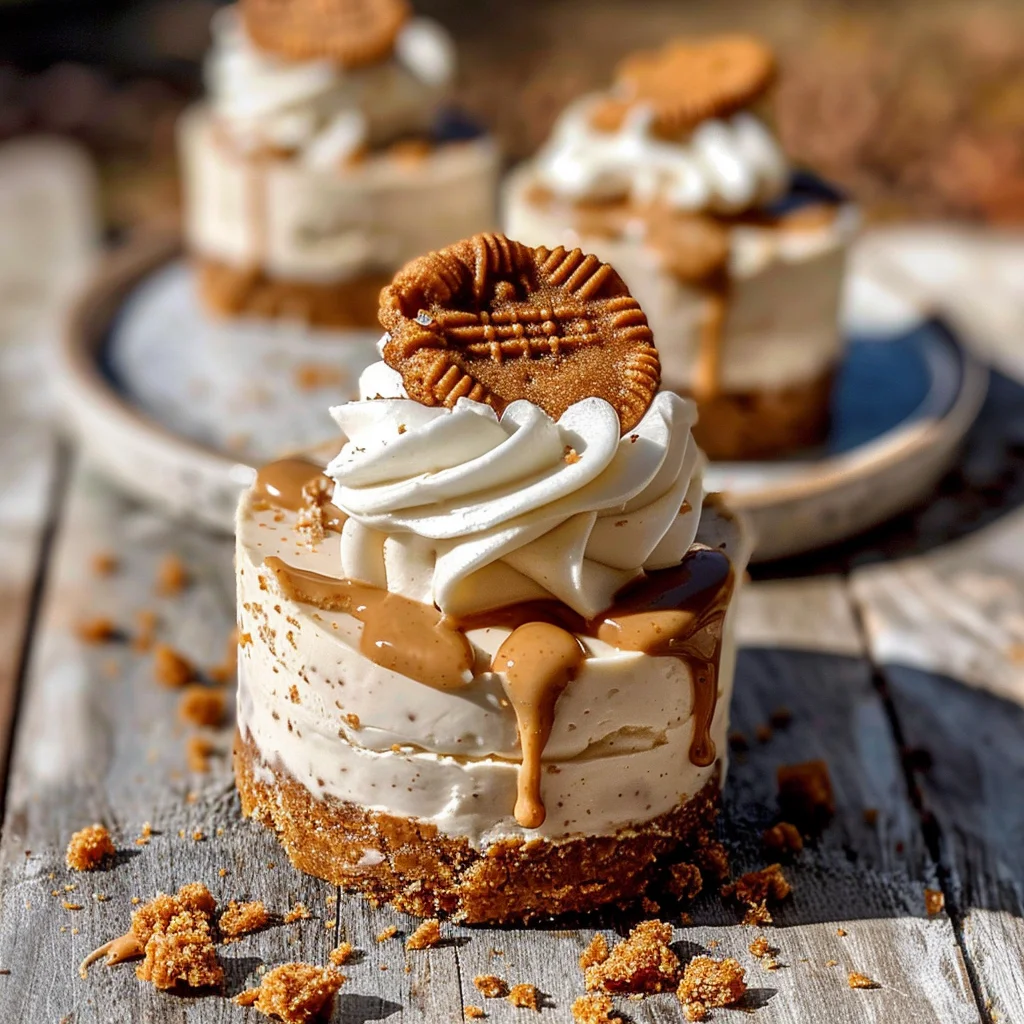
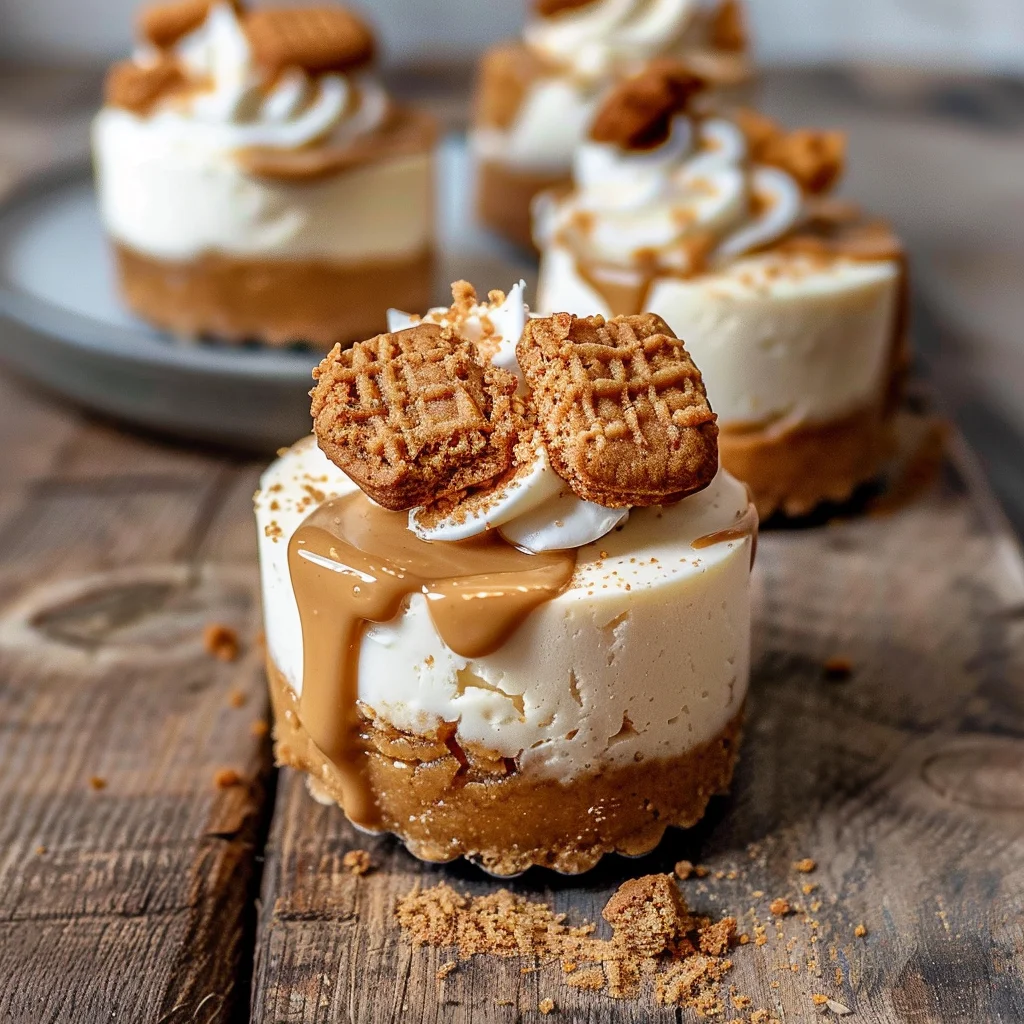
If you’re looking for a dessert that will wow your friends and family without breaking a sweat, these No Bake Mini Biscoff Cheesecakes are exactly what you need! They’re an absolute crowd-pleaser, blending a rich, creamy filling with the unmistakable flavor of Biscoff cookies. Whether it’s for a birthday party, a cozy family gathering, or just because you deserve something sweet, this recipe has got you covered.
What truly makes these cheesecakes special is their simplicity. With no baking required, they come together quickly and can be made ahead of time. Plus, who can resist that delightful combination of crunchy cookie crust and luscious cheesecake? It’s the perfect way to indulge without any fuss!
Why You’ll Love This Recipe
- Effortless preparation: No baking means minimal mess and maximum enjoyment!
- Perfect for any occasion: These mini cheesecakes are great for parties or just a sweet treat at home.
- Make-ahead convenience: Prepare them in advance and let them chill in the fridge until you’re ready to serve.
- Deliciously decadent flavor: The rich taste of Biscoff cookie butter and cream cheese makes every bite irresistible.
- Fun to customize: Dress them up with your favorite toppings for an extra touch!
Ingredients You’ll Need
This recipe uses simple and wholesome ingredients that come together beautifully to create those indulgent mini cheesecakes. You might already have some of these in your pantry!
For the Crust
- 1 (8.8 oz, 250g) package Biscoff cookies
- 1/2 cup melted butter, unsalted
For the Cheesecake Filling
- 1 cup heavy cream, cold
- 3 (8 oz. blocks) full-fat cream cheese, softened to room temperature
- 1 cup powdered sugar
- 1 cup creamy Biscoff cookie butter
- 1/3 cup sour cream, room temperature
- 2 tsp. pure vanilla extract
- pinch of salt
For the Topping
- 1/2 cup creamy Biscoff cookie butter
- Additional Biscoff cookies for garnish (whole or crushed)
- Whipped cream
Variations
This recipe is wonderfully flexible! Here are some fun ways to switch it up:
- Add a fruit layer: Top with fresh berries or a berry sauce for a fruity twist.
- Try different flavors: Use other cookie butters or flavored creams to create unique combinations.
- Make it vegan: Substitute dairy ingredients with non-dairy alternatives like coconut cream and vegan cream cheese.
- Mini muffin version: Use muffin tins for bite-sized treats that are perfect for snacking.
How to Make No Bake Mini Biscoff Cheesecakes
Step 1: Prepare the Crust
Start by blitzing the Biscoff cookies in a food processor until they’re finely ground. Slowly stream in the melted butter until everything is well combined. The mixture should feel sandy but stick together when pressed—this forms the perfect crunchy base for your cheesecake!
Step 2: Press Into Pans
Spray two mini cheesecake pans with non-stick spray (or use two 12-count muffin pans lined with cupcake liners). Press about one tablespoon of the crumb mixture into each pan. It’s important to pack it down firmly so it holds its shape while chilling.
Step 3: Whip the Cream
In a chilled mixing bowl, beat the cold heavy cream using a hand mixer until stiff peaks form—about two minutes should do it! Be careful not to overbeat; we want it light and fluffy. This step adds an airy texture to our cheesecake filling.
Step 4: Mix the Filling
In another mixing bowl, combine softened cream cheese, powdered sugar, Biscoff cookie butter, sour cream, vanilla extract, and salt. Beat this mixture until smooth and fully combined; this will be the luscious base of your cheesecakes.
Step 5: Fold in Whipped Cream
Gently fold the whipped cream into your cheesecake mixture using a rubber spatula. This step is crucial as it helps maintain that lightness we achieved when whipping the cream—no one wants a dense cheesecake!
Step 6: Pipe Into Crusts
Spoon the filling into a piping bag fitted with a round tip and pipe it onto each chilled crust. Smooth out the tops so they look lovely and even—it’s all about presentation!
Step 7: Chill Time!
Refrigerate your cheesecakes for at least six hours or overnight if you can wait! This allows all those flavors to meld beautifully.
Step 8: Add Topping
When you’re ready to serve, melt some additional Biscoff spread in the microwave (about 20-30 seconds) until it’s pourable. Drizzle this on top of each cheesecake—it adds an extra touch of sweetness!
Step 9: Garnish and Serve
Feel free to get creative here! Add crumbled Biscoff cookies or whipped cream on top before serving. Enjoy every delicious bite of these delightful treats!
Pro Tips for Making No Bake Mini Biscoff Cheesecakes
Creating the perfect No Bake Mini Biscoff Cheesecakes is a breeze with these helpful tips!
Use cold ingredients: Starting with cold heavy cream and room temperature cream cheese helps achieve the best texture for your cheesecake. Cold cream whips better, while softened cream cheese blends smoothly.
Don’t over-beat the whipped cream: Whipping to stiff peaks is crucial, but over-beating can turn it grainy. Stop mixing as soon as you see those beautiful peaks forming for a light and airy filling.
Chill your mixing bowl: If possible, chill your mixing bowl before whipping the cream. A cold bowl keeps the cream colder for longer, leading to better whipped results.
Pipe with precision: Using a piping bag makes it easier to fill each mini crust evenly. This not only looks more professional but also ensures that every bite has the perfect amount of filling.
Allow adequate chilling time: For the best flavor and texture, refrigerate your cheesecakes for at least six hours or overnight. Patience pays off when it comes to desserts!
How to Serve No Bake Mini Biscoff Cheesecakes
Presentation can elevate your No Bake Mini Biscoff Cheesecakes from delightful to dazzling! Here are some ideas to make your dessert shine.
Garnishes
- Crushed Biscoff cookies: Sprinkle crushed cookies on top for an added crunch and a pop of flavor.
- Whipped cream: A dollop of freshly whipped cream adds a lightness that pairs beautifully with the creamy cheesecake.
- Chocolate drizzle: A drizzle of chocolate sauce can enhance both flavor and appearance, creating a visually stunning contrast.
Side Dishes
- Fresh berries: Serve alongside a mix of strawberries, blueberries, or raspberries. Their natural tartness complements the sweetness of the cheesecakes perfectly.
- Mint tea: A refreshing cup of mint tea provides a soothing finish to your meal, balancing out the richness of the dessert.
- Fruit salad: A light fruit salad brings freshness and vibrancy to your dessert table and complements the flavors wonderfully.
- Coffee or espresso: The warm notes of coffee or espresso pair excellently with sweet desserts like these cheesecakes, offering a delightful way to round out your meal.
Make Ahead and Storage
These No Bake Mini Biscoff Cheesecakes are perfect for meal prep, allowing you to enjoy a delicious dessert any time! With simple storage options, you can easily whip them up in advance.
Storing Leftovers
- Place leftover cheesecakes in an airtight container.
- Store in the refrigerator for up to 5 days.
- Ensure they are well covered to prevent any absorption of odors from other foods.
Freezing
- Freeze the cheesecakes before adding the melted Biscoff spread on top.
- Wrap each cheesecake individually in plastic wrap and then place them in a freezer-safe container.
- They can be stored in the freezer for up to 2 months. To enjoy, simply thaw them overnight in the refrigerator.
Reheating
- These cheesecakes are best served cold, so there’s no need for reheating.
- If they have been frozen, allow them to thaw completely in the refrigerator before serving.
FAQs
Can I use other types of cookies instead of Biscoff?
Yes! While this recipe is specifically for No Bake Mini Biscoff Cheesecakes, you can substitute Biscoff cookies with any similar cookie like speculoos or ginger snaps for a different flavor profile.
How long do No Bake Mini Biscoff Cheesecakes last?
When properly stored in the fridge, your No Bake Mini Biscoff Cheesecakes will stay fresh for about 5 days. Just keep them covered to maintain their delightful texture!
Can I make these cheesecakes without sour cream?
Absolutely! If you prefer not to use sour cream, you can substitute it with Greek yogurt or omit it altogether without significantly affecting the flavor or consistency of your No Bake Mini Biscoff Cheesecakes.
Final Thoughts
Making these No Bake Mini Biscoff Cheesecakes is not only easy but also incredibly rewarding. The combination of creamy filling and crunchy base creates a delightful treat that everyone will love. I hope you enjoy creating this special dessert as much as I do. Don’t hesitate to share your results and let me know how yours turn out!
No Bake Mini Biscoff Cheesecakes
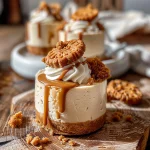
Indulge in these delightful No Bake Mini Biscoff Cheesecakes that combine a rich, creamy filling with the unforgettable flavor of Biscoff cookies. Perfect for any occasion—be it a birthday celebration, family gathering, or simply treating yourself—these mini cheesecakes will impress your guests without the hassle of baking. The crunchy cookie crust complements the luscious cheesecake filling, making each bite an absolute delight. Plus, with no baking required, you can whip them up quickly and prepare them ahead of time. Top with additional Biscoff cookie crumbs or whipped cream for an extra special touch!
- Prep Time: 30 minutes
- Cook Time: 0 minutes
- Total Time: 30 minutes
- Yield: Makes approximately 12 mini cheesecakes 1x
- Category: Dessert
- Method: No Bake
- Cuisine: American
Ingredients
- 250g Biscoff cookies
- ½ cup unsalted butter (melted)
- 1 cup heavy cream (cold)
- 24 oz cream cheese (softened)
- 1 cup powdered sugar
- 1 cup creamy Biscoff cookie butter
- ⅓ cup sour cream (room temperature)
- 2 tsp pure vanilla extract
- Pinch of salt
Instructions
- Prepare the crust: Grind Biscoff cookies in a food processor and mix with melted butter until sandy.
- Press into pans: Firmly pack about one tablespoon of crumb mixture into mini cheesecake pans or muffin tins.
- Whip the cream: Beat chilled heavy cream in a bowl until stiff peaks form.
- Mix the filling: In another bowl, blend softened cream cheese, powdered sugar, Biscoff cookie butter, sour cream, vanilla extract, and salt until smooth.
- Fold in whipped cream gently to maintain lightness.
- Pipe filling: Transfer the mixture to a piping bag and fill each crust evenly.
- Chill: Refrigerate for at least six hours or overnight.
- Add topping: Drizzle melted Biscoff spread on top before serving.
- Garnish and enjoy!
Nutrition
- Serving Size: 1 mini cheesecake (75g)
- Calories: 320
- Sugar: 23g
- Sodium: 160mg
- Fat: 25g
- Saturated Fat: 14g
- Unsaturated Fat: 8g
- Trans Fat: 0g
- Carbohydrates: 24g
- Fiber: 1g
- Protein: 4g
- Cholesterol: 60mg